Maybe image editing software came with your computer, camera, or from werever, and maybe you learned how to use it. But maybe not. If not, read on.
This article is about creating images, which may include photos, for use on websites. Often text will overlay or be the focus of the image, so special attention is given to adding text. If you're an advanced user and make lots of money, get Photoshop and pay someone to teach you how to use it. If you have more time than money, get GIMP (almost as good and what part of free is not to like?) With powerware (like Photoshop or GIMP) the main issue is that they are not simple and therefore there is a significant learning curve. If you want easy-peasy, read on.
I'm assuming the reader is not a nerd whose been reading slashdot.org for years, so let's keep this simple. To avoid having to download and install an image editor, let's use a web-based one, and yes they do exist and are surprisingly good. I've looked over the offerings and were you to read the next 57 pages of my analysis (mercifully omitted), you'd realize why you'd end up using Pixlr.
Using Pixlr involves going to http://pixlr.com/editor/ and selecting one of the four options that explain themselves. Clicking on the pixlr.com link opens Pixlr in a new tab, so you can keep reading this and see/try out Pixlr.
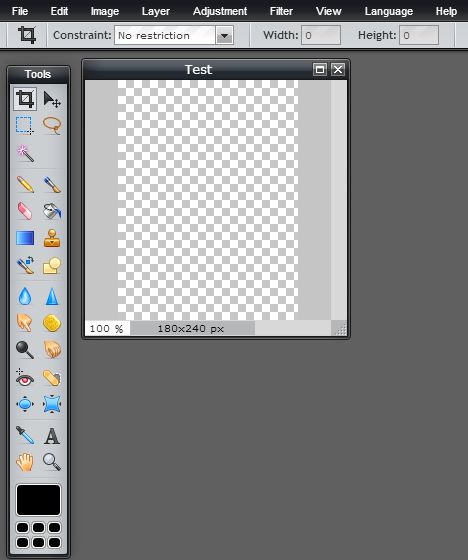
This option lets you start with a blank screen. When creating images for the web, smaller is faster loading, and the fewer colors the smaller the file. So if lines, text, and a few colors will for the most part do the job (as perhaps for a logo), then go with simple. After selecting this option, provide a name and a width and height. I'm going with a small 180 dots (pixels) x 240 px (pixels) image for a small ad. What comes up is a small window for the small image at 100%:
To enlarge, click on the lower right corner, hold the left mouse button down, and drag towards the lower right corner of your screen.
This will look something like this:
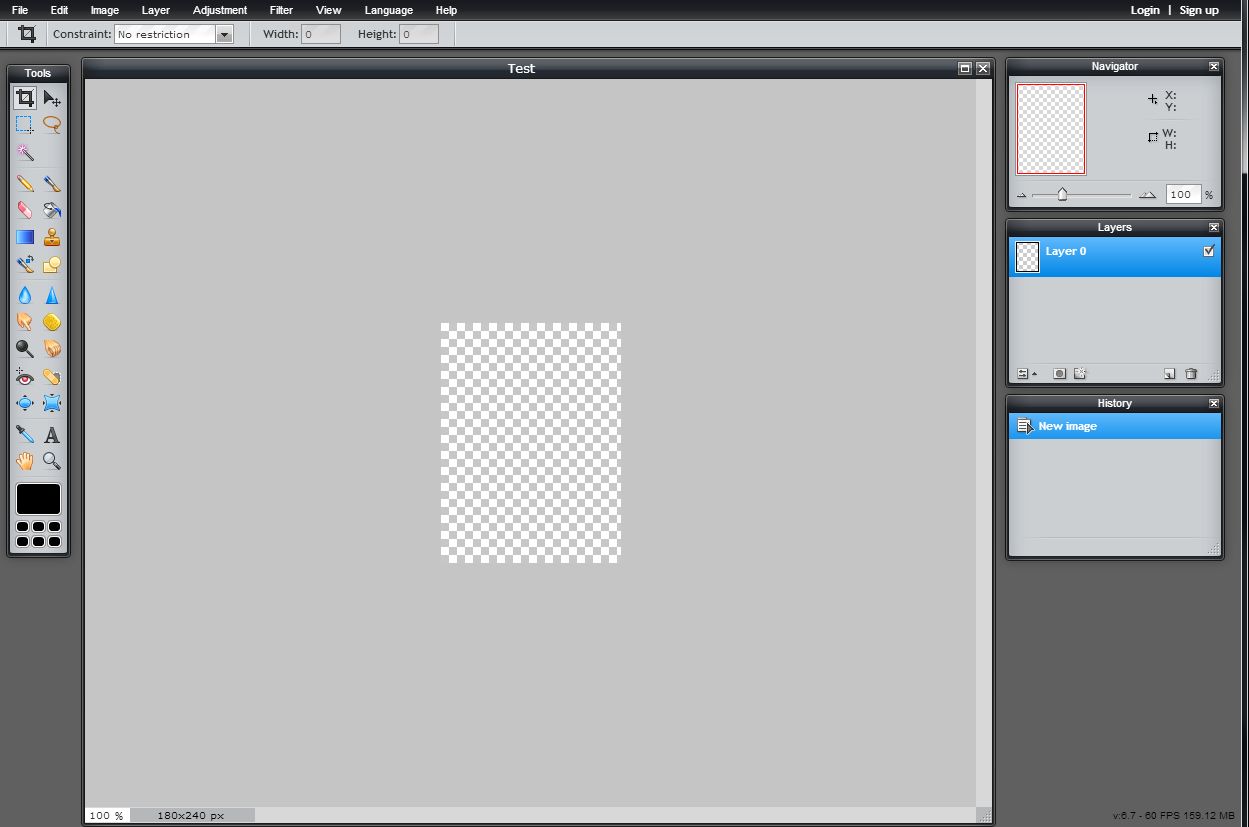
You now have a much larger window for the image, but the image is the same size. Look at the box in the upper right called 'Navigator'. At the bottom it says the size is still 100%. To enlarge while working on the image, grab the slider with the mouse pointer and slide it to the right.
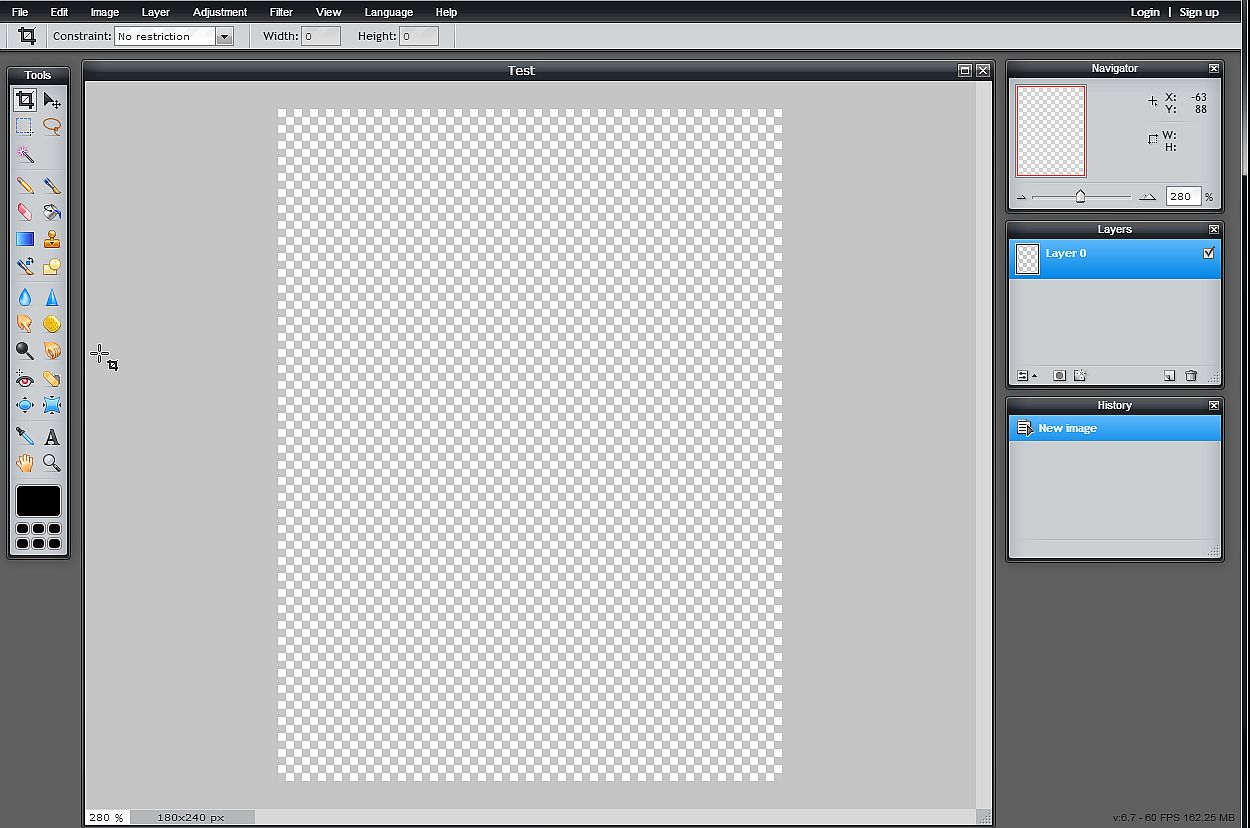
Now the image is of a large working size. Note the checkered background which indicates that I selected transparency mode when I created this image. This means that any parts I do not color in will take on the background of the webpage it is used on. If you always want the background to be one color, don't use transparent mode.
Before going further, create another layer. At the top click 'Layer' then 'New layer'. Now you have two blank layers. Think of them as background layers. One is transparent and checkered. The problem with the checkered pattern is it is visually distracting during the creation process. With the second layer selected, you could fill it with a temporary color. Look at the tool bar on the left side. Go down five and over one to the paint bucket and click it. If you now click on the image, the layer is filled with black. Maybe not what you wanted, so under 'Edit' select 'Undo' or just hold CTRL and press 'z'. To fill with white, click on the big black box at the bottom of the 'Tools'. The color selector comes up.

The small circle inside the donut is on red. The far right of the square is red. You can move it around the donut to select a different primary color. Next note the small circle inside the square is to the far left. All numbers are zero and so the color is black. Move this circle to the far right for a pure color or up and down for a mix. When the color is what you want (white would be all the way up), click 'OK'.
Or near the top, click 'WEB' for a limited selection of web friendly colors.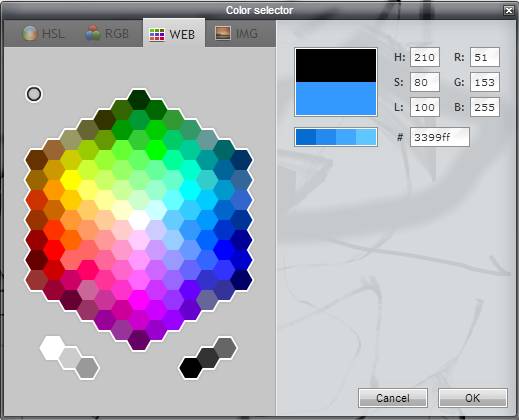
Now fill the second layer with the selected color. On the right of the selection box for this layer is a checkmark. Click to turn it off and the layer goes away. Checkmark it and it comes back.
Let's add some text. But note the main color is still white. White text on a white background won't show up. So click on the color box and select a different color, like red. Let's pretend to create an ad for ducklings. To enter text, look for the 'A' and click it, then click on the left side of the image. Doesn't matter where exactly as placement will have to be ajusted later. A text box pops up. Enter 'Ancona Ducks', the size, style, font, and change color if you want. The text appears in a box with a blue line around it. You can click on it and hold the left button down to move it.
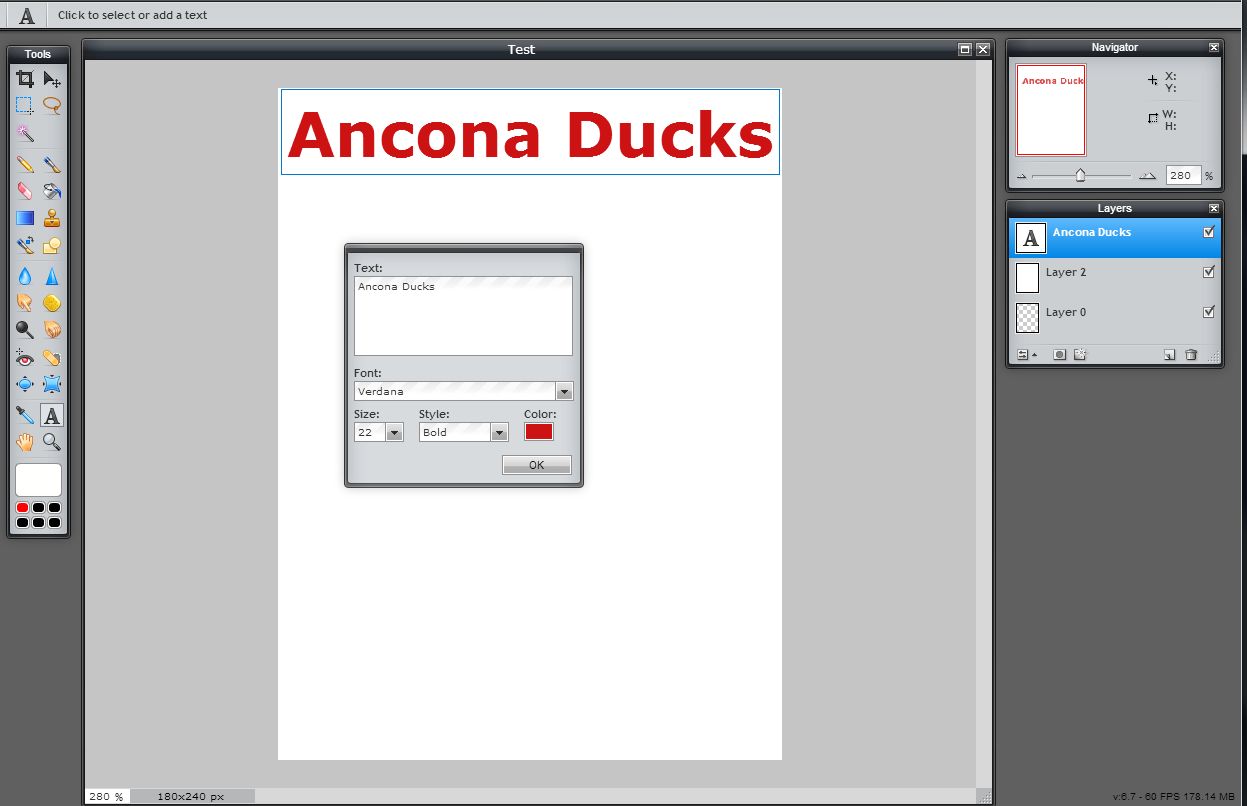
Since you don't want all the text this size and color, click 'OK'. To enter more text, click on a tool button other than 'A' then click on 'A' again. If you click on the text you've entered, you can edit it. Click elsewhere, and a new empty text box appears. So do this and enter some smaller, descriptive text. A little picture might help, so you find one (Google images?). To insert, select 'Layer' and then 'Open image as layer'. Once opened you can transform it by going to 'Edit' and selecting 'Free transform'. Click on a corner and slide it to resize and whatnot.
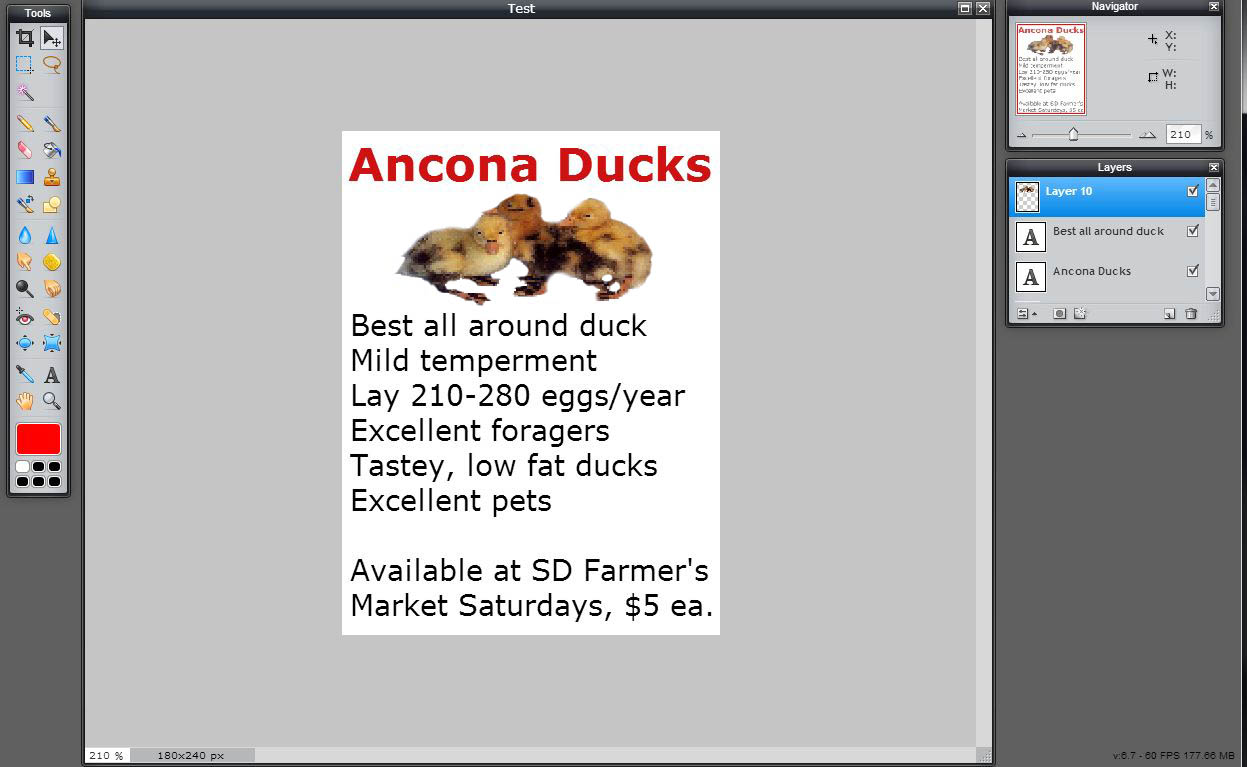
Under 'Navigator' view at 100% to see what it will look like.
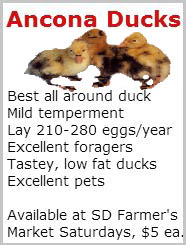
Before saving, uncheck the white background layer. Under 'File', select 'Save' and then save it as a PDX file which is the Pixlr format with the layers. You want this file if you ever think you might want to edit it some day. Then save again as a PNG. If you saved it as a JPG file, the transparency would be lost. PNG has a transparency mode. The PNG file is what you could use on a website.
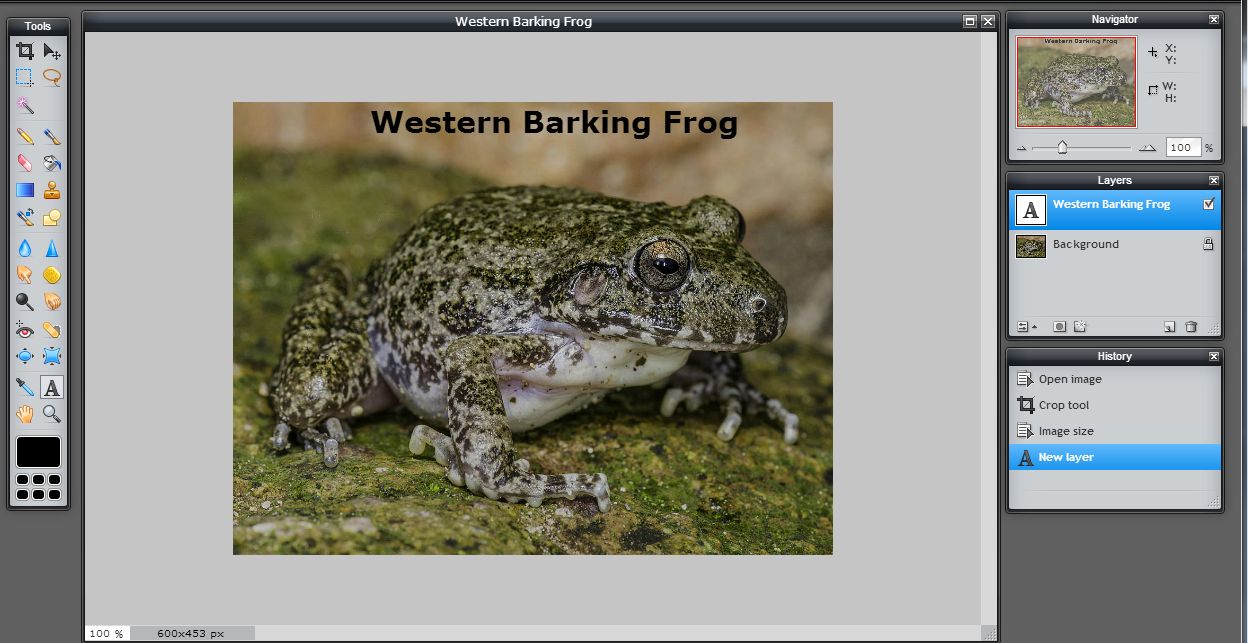
Here you pick an image file from your computer. I pick a frog.
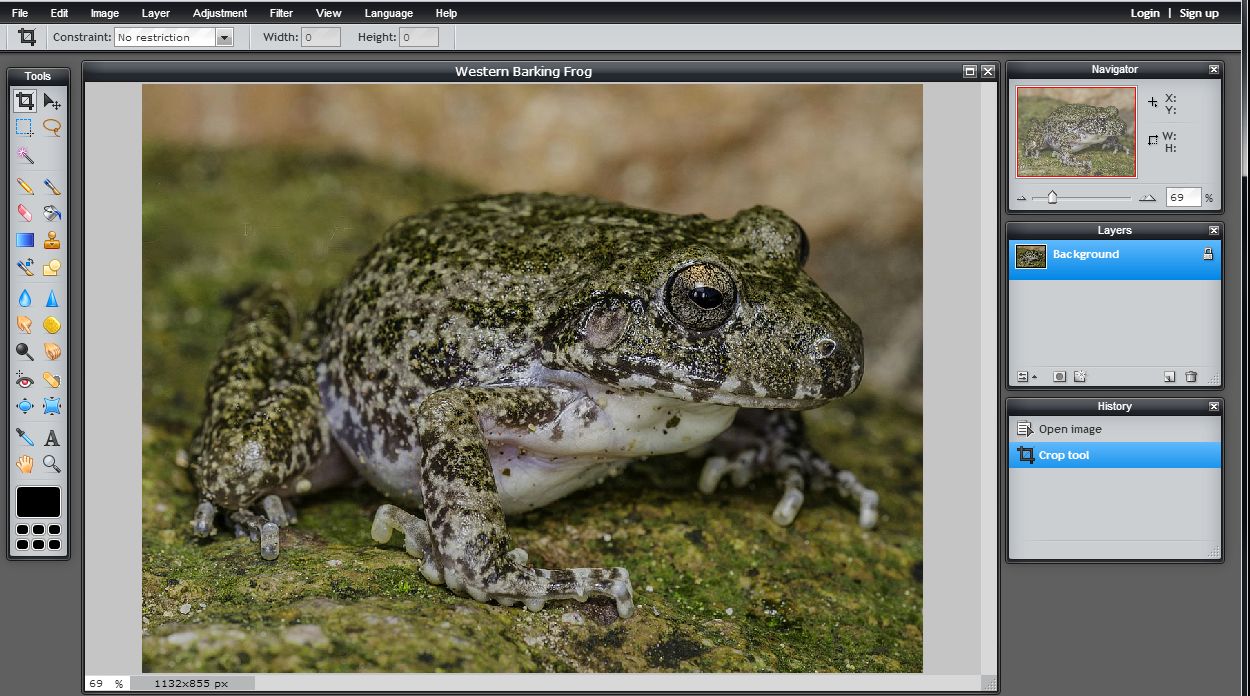
Note that it is 1132x855 px, which is bigger than it will appear on screen. If you don't resize it, you could still have it display on the webpage at say 600x453 px, But then the huge file would have to be loaded and then reduced by the browser. A big waste of bandwidth and pages may load to slow. So always resize to the size displayed on the screen. Under 'Image' select 'Image size' and enter 600 as the width. The only other change I wanted to do was add the name of the frog to the image in addition to the text description on the webpage the image might be used on. Adding a bit of text, as covered above, took seconds. Save and you're done. In this case I don't need a PDX version as there was only one text layer. Because this is basically a photo, JPEG is the best format to use.
If you are surfing the web and see an image you like, try right clicking on it, select 'copy image URL' or something similar, and when asked, paste the URL in. Enough said.
Pixlr allows you to create a user account and upload images that you can later edit.
Yes, Pixlr does more. Play around with it in a leisurely way. Have fun and you'll be surprised by its awesome powers. If not awesome enough, try GIMP. Only other tip, download RIOT, a tool that let's you play around with size vs. quality of images and process them individually or by batch. Reducing size without noticable loss of image quality can easily reduce image sizes by half.
There's more how-to information. Consider, in order, the following: Wikihow.com